Using pymapd to Load Data to OmniSci Cloud
Download HEAVY.AI Free, a full-featured version available for use at no cost.
GET FREE LICENSEIntroduction
The latest release of OmniSci Cloud includes a much sought after feature - access to OmniSci's Apache Thrift API. This unlocks the most advanced features of OmniSci and enables use cases such as:
- Data Science workflow
- Automated data ingest
- Visual rendering
- Custom Application
The OmniSci Cloud API supports the following existing connectors:
- mapd-connector
- pymapd
Our goal for this blog post is to provide a simple example of utilizing the API. Like the previous post on getting data from Google Analytics into a hosted instance, this post will walk through retrieving data from a source, parsing and formatting it, and loading it into OmniSci.
Use Case
OmniSci utilizes Discourse for its community platform. Discourse has its own reporting functionality, but here at OmniSci we like to drink our own champagne, so we export metrics and measurements from Discourse and import them into OmniSci Cloud. The data from Discourse is far too small to really put the compute and rendering power of GPUs to the test, but we do gain the advantage of a single pane of glass for multiple data sources, as well as geospatial capabilities.
Information Architecture
In this blog post we will show how to use pymapd to connect to a database, create a table, and import data. The OmniSci Cloud analytics platform includes a relational / columnar data store that expects data in table-like structures, while Discourse log data is exported as JSON, so we’ll need to do a bit of parsing and formatting. Pandas has the methods we need.
Finally, we’ll need a place to execute the code. You can do this on a physical or virtual machine, and you can execute it manually or as a nightly cron job. In this example, development was done on a local machine and then moved to a local server.
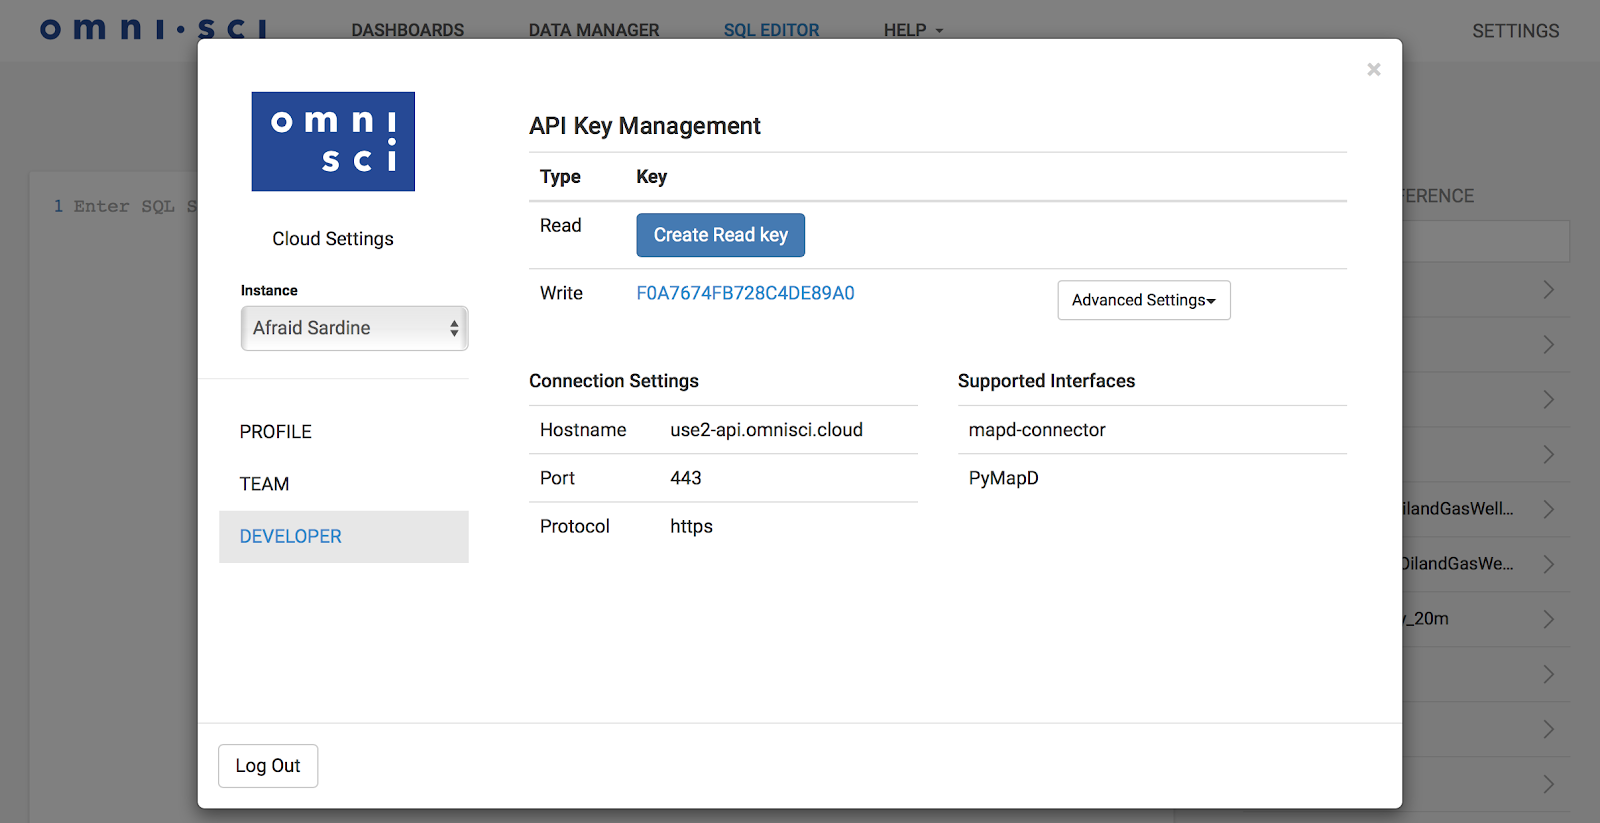
Generating API Keys for OmniSci Cloud
OmniSci Cloud Super Admins, Admins, and Developers can each create a single read key and a single write key. You can select DEVELOPER menu from SETTINGS which is at the upper right-hand corner of the Immerse user interface.
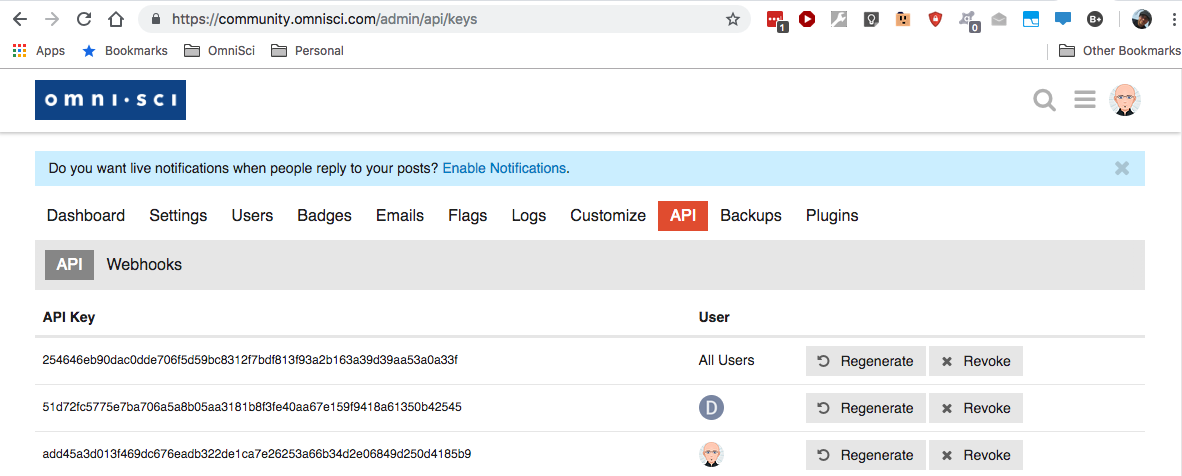
Generating API Keys for Discourse
Discourse admins can each create account-level read / write keys or a read-only key for all users.
Installing pymapd
You can install pymapd from conda-forge
conda install -c conda-forge pymapd
Or with pip
pip install pymapd
Import the libraries that we will be using along with pymapd:
import argparse
import sys
import string
import csv
import osk
from datetime import datetime, timedelta
import pandas as pd
from pymapd import connect
Now that we have credentials for both systems, and the relevant python libraries on our system, we can now create our Python script.
Connect to OmniSci
We’ll use the OmniSci API key name for write access and the corresponding API key secret and initialize the connection variable. All API access goes through the same host, use2-api.mapd.cloud, which then automatically forwards the request to the correct cloud instance based on the key name. The default database name is mapd and you will connect using HTTPS port 443.
Connect to Discourse
You’ll need the key you created for Discourse, as well as your username. The Discourse authentication scheme is straightforward and you can pass both pieces of data in as parameters in a string.
# credentials
access_token = "enter your token here"
api_username = "username"
# paths
authentication = "api_key=" + access_token + "&api_username=" + api_username
repo_path = "https://yourwebsite.com/"
Get Data From Discourse
First, set the date ranges for the report:
# set the date range for the report
# set the start day to whatever is desired, or calculate it relative to today
# set the end date to yesterday so we don’t include data from an incomplete day
start_date = "2017-01-01"
now = datetime.today()
day = timedelta(days=1)
end_date = now - day
end_date = end_date.strftime("%Y-%m-%d")
Next, load data from Discourse into a pandas dataframe; since we’re only calling one report in this example, we’re just going to authenticate when we make the call:
Parse the Discourse Data
One of the nice things about reports from Discourse is that they are always structured the same way, so no matter which call you make, you can easily extract just the information you need and then parse it into something that OmnSci can use. In this case, all we need to do is extract the data we want from the “extra” data returned:
# extract the list
cell = df.iloc[3,0]
#parse the data
df = pd.DataFrame.from_dict(cell) #turn the list into a dataframe
The dataframe df now contains two columns, x and y, which map to the date and number of daily views for the website.
Finally, we set the column names to more useful labels, and set the data types to ones that the pymapd loader will interpret correctly when creating the database table definitions. We cast the date from string into a Python datetime object, and the pageviews column as numeric.
df.columns = ['c1_timestamp', 'c2_pageviews']
df['c1_timestamp'] = pd.to_datetime(df['c1_timestamp'])
df['c2_pageviews'] = pd.to_numeric(df['c2_pageviews'])
Load Data Into OmniSci Cloud
The default behavior of the pymapd load_table API is to create the database table if it does not exist, and then load the data into the table.
table_name = 'forum_pageviews'
connection.load_table(table_name, df)
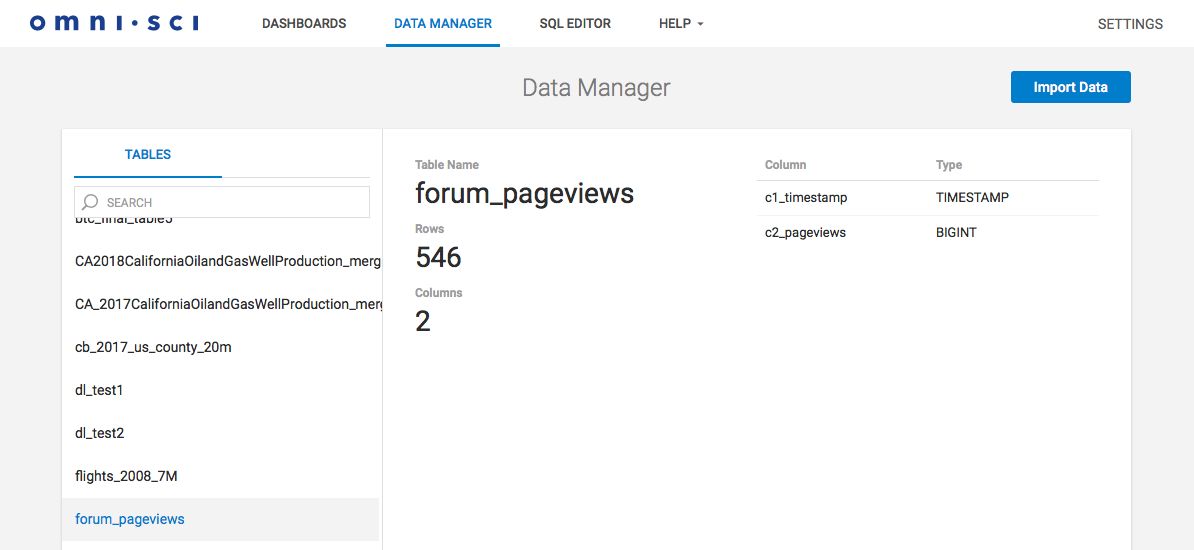
Confirm the table creation using the Immerse UI:
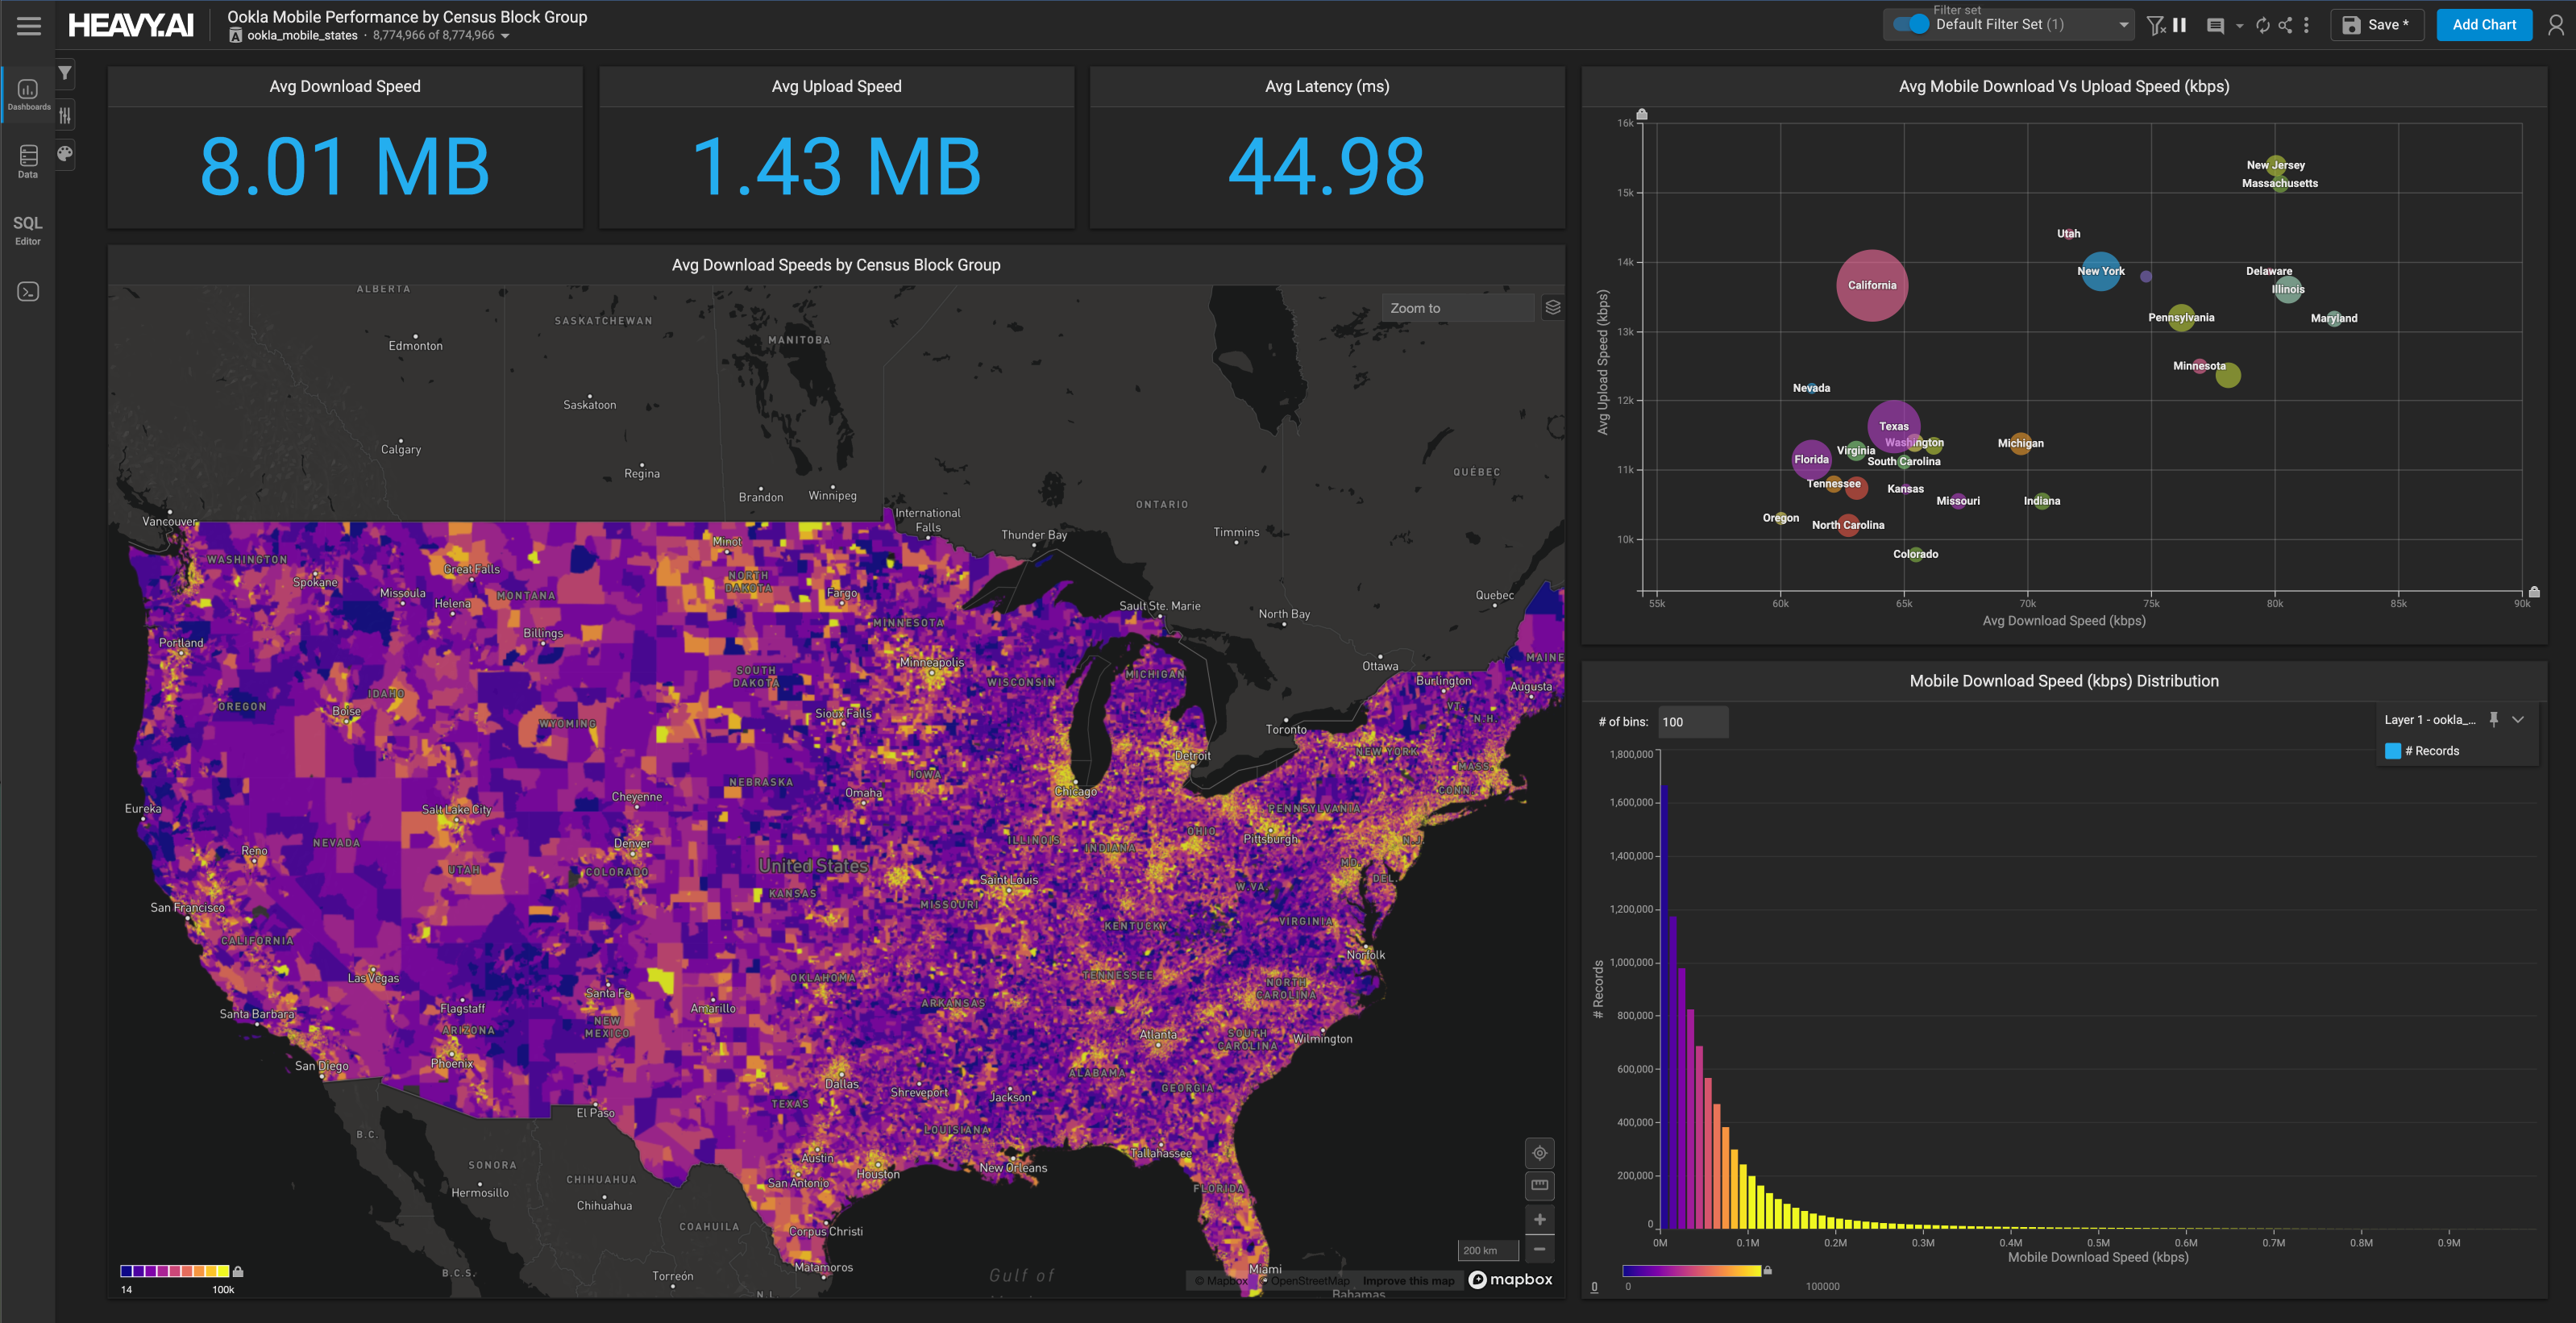
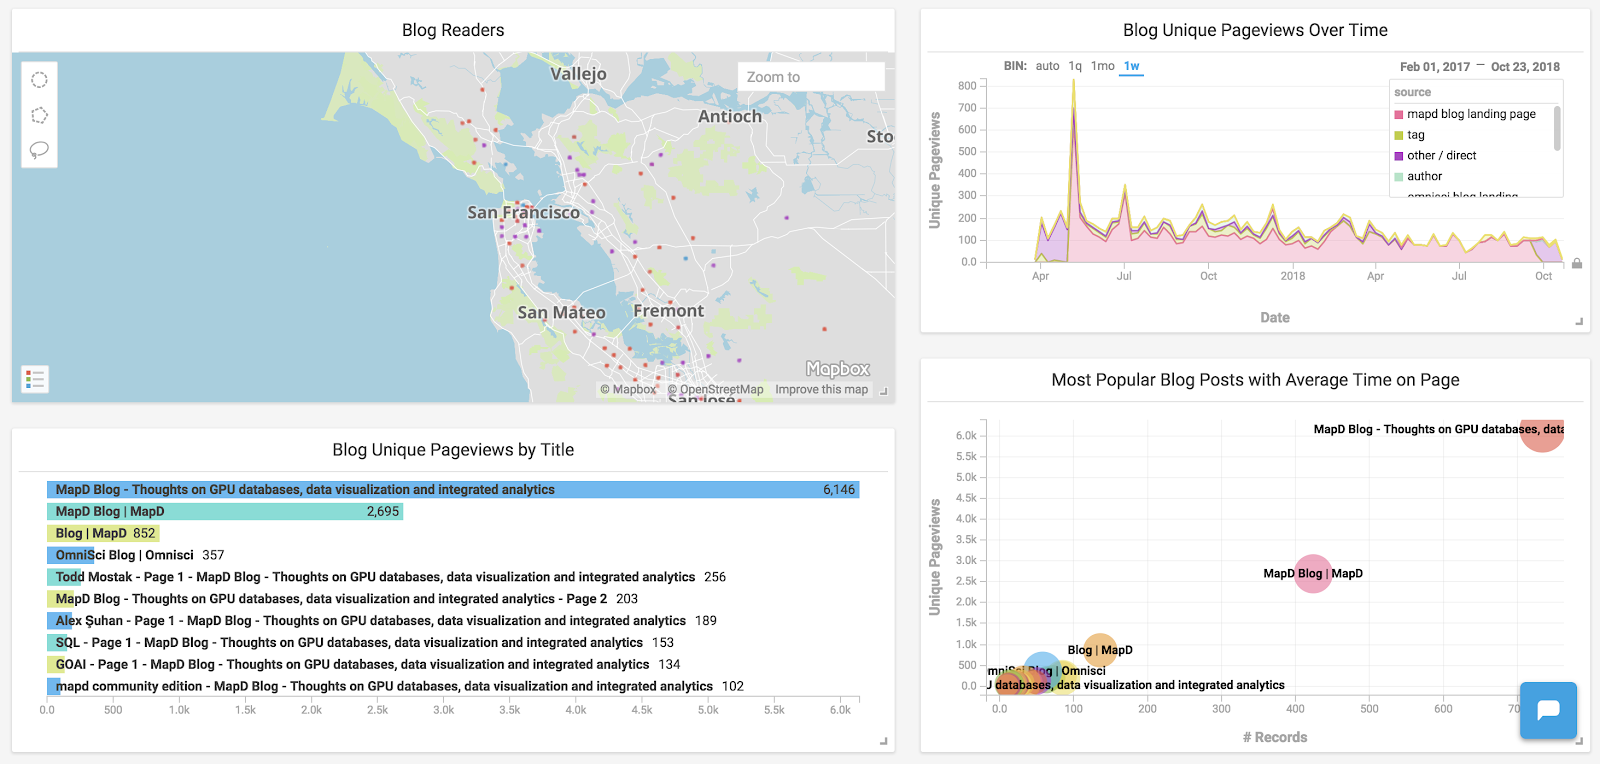
Then create a dashboard and some charts that utilize the data. By joining several different datasets, such as Google Analytics pageviews, we can produce some good charts:
(Optional) Save and Read CSV Files
For purposes of this example, we also illustrate how to first save the data to CSV files on the local machine and then read the data back into a pandas dataframe. Then we can have local copies of the raw data, or move them to Amazon S3 and load into OmniSci from there.
Save to Local CSV File
Save the data from the pandas dataframe into a CSV file:
If you decide to save to a file, check that your data types are still what pymapd is expecting; you’ll probably want to recast the data into datetime and numeric data types after you read the data from the file.
Load from Local CSV File
Read the data from a local CSV file into a pandas dataframe:
df = pd.read_csv(“replace with your filename”)
Load from Amazon S3 In addition to adding records using a data frame and reading records from a local CSV file, you can also add records from a CSV file that is hosted on Amazon S3. The CSV file can be zipped to save storage space and network bandwidth.
Here is an example for importing a CSV file located on S3 at https://s3-us-west-1.amazonaws.com/mybucketname/myfilenameCSV:
connection.execute("COPY mytable FROM 's3://mybucketname/myfilenameCSV'")
OmniSci also supports importing Geometric data from GeoJSON, ESRI Shapefile, KML and CSV/TSV with WKT (well known text) formats.
The following example shows how to import an ESRI Shapefile which contains a Geospatial dataset, note the use of geo='true' option:
Close the Connection to OmniSci Cloud
You should disconnect from the database at the end of the application:
connection.close()
Appendix A: Useful Tips and Tricks
- Define your table structure in Immerse before loading data from the API
- Try importing your data, defining column data types, inspecting the table, and creating a dashboard through the UI so you have a known-good solution
- Then TRUNCATE your table in SQL Editor and load the data into the table via the API
- The most common stumbling block when trying to import data is type mismatches; you may need to parse the data in your scripts to format and cast as needed
- When working with large datasets, you may wish to append only new data to existing tables rather than drop and recreate tables as we illustrated in this example. We’ll show you how in a future post.
- Once you have a working script, make a cron job and automate your process, making sure that you allow for the OmniSci Cloud instance to wake up on API call (see below).
Appendix B: Other Useful pymapd Commands
Read OmniSci Database Table Info
Along with visual inspection in Immerse, you can find the list of existing tables with the following code:
list_of_tables = connection.get_tables()
print('\n'.join(list_of_tables))
forum_pageviews
mapd_counties
mapd_countries
...
flights_2008_7M
We can get the details of a preloaded table like the flights dataset:
Append Data to Tables
You can append new records to the existing table by calling periodically with newer data:
connection.load_table(table_name, df)
Confirm that the data got added to the tables by looking at the number of rows in the table under Immerse Data Manager.
Delete Tables
You can delete a table in the database using:
table_name = 'forum_pageviews'
command = 'drop table if exists %s' % (table_name)
connection.execute(command)
Wake Instance
If your instance is asleep, it will wake upon receiving an API call. However, it may take up to 20 seconds to do so, and in the meantime, you will see the following error:
Error: OmniSciCloud: OmniSci Core not ready, try again in 20s
To deal with this delay, you can catch the error with the following code:
Summary
Now that OmniSci Cloud allows various API connections, we encourage you to check out what your data can reveal to you on our cloud platform by signing up for a 14-day trial. Our goal in authoring this post was to provide a simple end-to-end example with an easy-to-understand source and dataset. The example we’ve provided is available on GitHub and can be modified to whatever data source you prefer, and we would love to see examples with other sources!